Guide
How to Add a Waitlist and RSVP to Events on WordPress
How to add a waitlist and RSVP to events on your WordPress site: set a capacity, let guests join without accounts, and know when the waitlist promotes itself.
If you want to know how to add a waitlist and RSVP to events on your WordPress site, the short answer is this. Install Eventonomy, set each event to “People register here”, give it a capacity and switch on “Waitlist when full”. When the event fills, the RSVP button becomes “Join waitlist”, and on a free RSVP event the oldest person waiting is moved into the freed place and emailed.
That is the whole core of it, and it is in the free plugin. The rest of this guide covers the questions people actually run into: how capacity is counted, what happens when someone cancels, how guests and groups work, whether visitors need an account, and the one place where the waitlist behaves differently, which is a paid event.
What do you need to add RSVPs and a waitlist to a WordPress event?
You need three things: the Eventonomy plugin, an event, and the RSVP block on that event’s page. You do not need a ticketing service, a separate booking plugin or an outside account. Everything runs on your own WordPress site, so there is no per-ticket platform fee and no per-user fee. Your attendee list lives in your own database.
The RSVP block is how visitors respond. It shows the registration form on the single-event page, and it detects which event it is sitting on, so you add it once to your single-event template and every event uses it. If you are starting from nothing, the first event walkthrough takes you from install to a published event, and the RSVP block page covers placement.
One setting to check before anything else. In the event editor, the Registration section asks how people register. You have three options:
- People register here. The RSVP block appears with the going, maybe and no form. This is the one you want for an RSVP and a waitlist.
- Registration is on another site. The page shows a Register button pointing at an address you supply, and no RSVP panel.
- No registration needed. No panel, and no spots-remaining count. Good for announcements and drop-ins.
The mode is enforced on the server. An event set to “another site” or “no registration” refuses RSVPs even if someone sends a request by hand. New events open on whatever you pick at Settings, Registration, “New events start as”, and you can change it on any single event.
How do you set a capacity for an event?
Open the event editor and fill in the Capacity field. Leave it blank for no limit. If most of your events share a cap, you can set a starting value for all new events instead: at Eventonomy, Settings, Registration, tick “Limit attendees on new events” and enter the number. An event that sets its own capacity ignores that default.
Only people answering Going use up places. A Maybe is tentative and does not count, and a Not going does not count either. This matters when you read your numbers: ten Going and four Maybe on a capacity of ten means the event is full, even though fourteen people have responded.
Two more settings on the same screen change how the cap feels to visitors:
- Show remaining spots adds a “5 spots left” line to event cards, the single-event page and the RSVP block. It stays hidden when capacity is unlimited, so you never show a meaningless number.
- Close registration before the event starts lets you stop sign-ups a set number of hours ahead. Tick it, enter the hours, and after that point the form shows “Registration closed”. Leave it unticked for no deadline.
If you would rather not list full events at all, Hide sold-out events from listings removes them from the events list and upcoming blocks. The event page itself stays reachable, so anyone holding the link still sees it.
How does the waitlist fill and promote people?
Switch on Waitlist when full at Eventonomy, Settings, Registration. After that, a Going RSVP that arrives when the event is at capacity is placed on the waitlist instead of being refused. With the setting off, the visitor is told “This event is full” and that is the end of it.
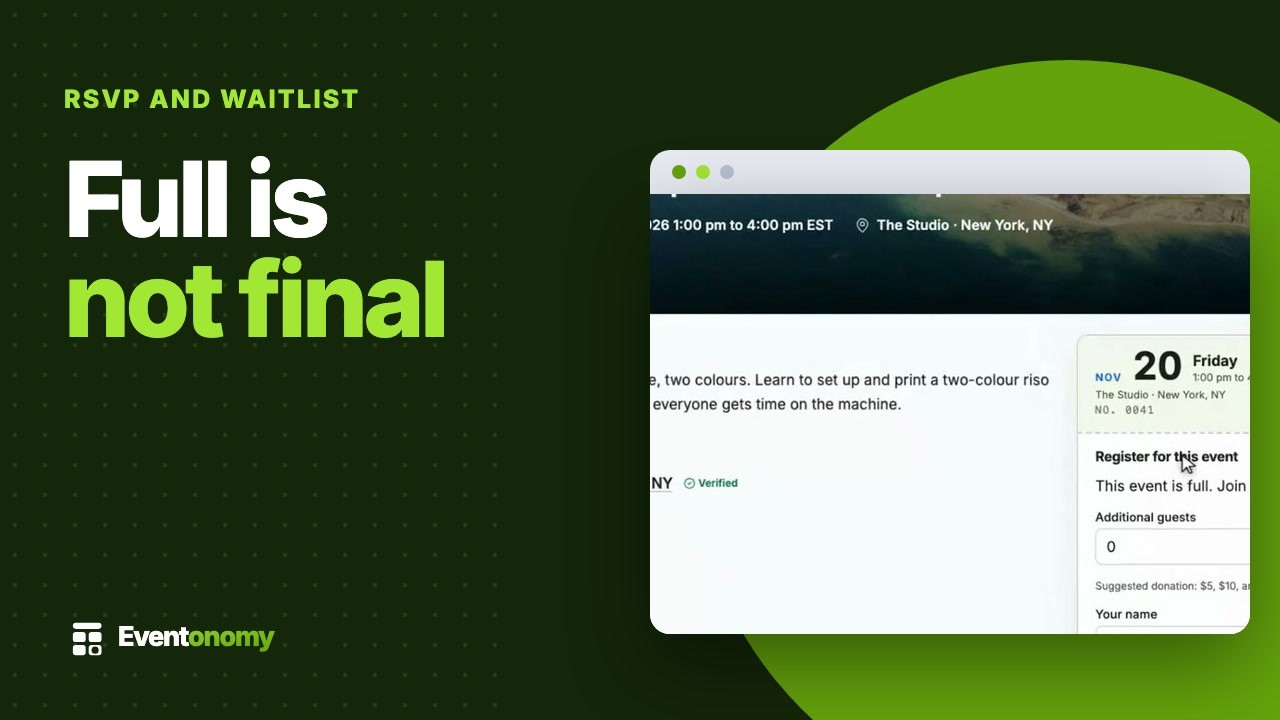
What the visitor sees is deliberately plain. The one main button reads Register, and once the event is full it reads Join waitlist, so nobody clicks without knowing what the click does. After they respond, the panel shows their live status without a page reload: going, maybe, or on the waitlist with their place in the queue. If they come back later in the same browser, the status is still there, so a person on the waitlist is never shown as registered.
When a place opens, the free RSVP flow handles it for you. If a Going attendee cancels or changes their answer to No, the oldest waitlisted RSVP is promoted to Going and receives an email telling them they are in. You do nothing.
The promotion is fair to groups. It works in strict first-come order and sizes each promotion to the waiting party. Say an attendee who booked for three people cancels. That frees three places, and the queue is walked from the front. If the next person in line is a party of two, they go in. If the next party is four and only one place is left, the walk stops there rather than skipping ahead to a smaller party, so nobody is leapfrogged.
Two people reaching for the last place at the same moment cannot both get it. The count is re-read and written under a lock when the RSVP is saved, so one is confirmed and the other lands on the waitlist.
Can people bring guests, and how do group RSVPs count?
Yes. An attendee can add extra people to their own RSVP, and every one of them counts toward capacity. A person who RSVPs with two guests uses three places. That is how a family, a table of colleagues or a small team can book in one go without anybody filling in a form three times.
You control this from Settings, Registration:
- Let attendees bring guests is the master switch for the guests field. Turn it off for seated, capped or strictly per-person events, and any RSVP that still asks for guests is rejected.
- Limit additional guests per RSVP sets how many extra people one RSVP may add. Leave it unticked for no limit. Set it to one if members may bring a friend and no more.
Guests apply to free RSVPs only. On a ticketed event a buyer cannot add guests to a booking, because that would let a paid event oversell. Each extra person buys a seat, or you add them yourself as an attendee.
Groups also shape the waitlist, as above: a party joins the queue as one entry and is promoted only when there is room for the whole party. If your events are volunteer shifts, where a team lead often books several places together, the same mechanics apply, and the volunteer shifts guide shows how to lay those events out.
Do attendees need an account to RSVP?
Not unless you want them to. One setting decides it: Do attendees need an account? at Eventonomy, Settings, Registration. It applies to RSVPs, to the paid-event waitlist form and to ticket checkout. There are three choices:
| Choice | What a logged-out visitor sees |
|---|---|
| Offer an account (the default) | The form, with an unticked checkbox to create an account so they can manage their registration later. An account is created only if they tick it. |
| Guest, no account | The form with no account checkbox. The registration is stored against a name and email, and the guest manages it through the link in their email. |
| Must log in | A login prompt instead of the form. |
When an account is created, an email address that already has an account is matched to it, so nobody ends up with two.
A guest manages their RSVP through a private link, sometimes called a magic link. After they submit, Eventonomy emails them a signed link that opens a page where they can change their status or cancel. The link stays valid until the day after the event ends, and never for less than seven days. Their confirmation email carries the same “View or change your RSVP” link, and the confirmation screen has an “Email me a link” button for the person whose email never arrives.
This matters for a waitlist more than for a normal RSVP. A guest who is waiting and then finds they cannot come can cancel from the link, which frees the place for the next person. Without a way back in, they would stay away without telling anyone, and a place would be wasted.
Which emails and reminders go out?
The relevant emails are all part of the free plugin, and they fire on their own. Under Settings, Messaging, the option Email attendees when their RSVP is confirmed or cancelled (on by default) covers the following:
- An RSVP confirmation when someone gets a place.
- A waitlist notice when someone joins the queue because the event is full.
- A “maybe noted” email when someone answers Maybe.
- A cancellation notice, which says who cancelled it.
- The waitlist promotion email, sent to the person who has been moved up.
Turning that option off stops all of them, including the promotion email, so leave it on if you run a waitlist. A person who is promoted and never told is the failure you are trying to avoid.
Reminders need no setup. Everyone with a Going RSVP is reminded one day and one hour before the event starts. For an online event the reminder carries a personal join link, and only confirmed registrants get it. People on the waitlist are not reminded as if they were attending.
Reminders depend on your site’s scheduled jobs actually running. On a very quiet site, WordPress’s built-in cron can miss a window because nobody visited. The reminders page explains the fix, and the Setup and Health screen warns you if scheduled jobs look stalled.
If you want to reach the whole list at once, an organizer can email everyone from the attendee panel, and the audience can be Going only or Going plus the waitlist. The attendee messaging guide walks through it.
How do you export the RSVP and waitlist?
Go to the Attendees screen and use Export CSV. With an event selected it exports that event’s list. With no event selected, an admin gets a site-wide export across all events. An organizer can also export their own event’s list from the front-end Manage Attendees view.
The file always starts with six columns: Name, Email, Status, Guests, RSVP Date and Event Title. Status reads Going, Maybe, Not going or Waitlist, so you can filter the waitlist in a spreadsheet in one step. The Guests column counts additional guests only, so a row reading 3 means four people. After those six, you get one column for each registration question, headed with the question’s own label.
If you ask questions at sign-up, such as dietary needs or an access requirement, remember that custom questions are free but ship switched off. You turn them on at Settings, Registration, write the questions once in the shared bank, then tick which ones each event asks. The questions settings page covers the details.
The same screen is also where you change someone’s status by hand, which is useful when you want to move a specific person off the waitlist yourself.
What changes for paid and ticketed events?
This is the one place to be careful, because the waitlist does not behave the same way. On a free RSVP event, the waitlist promotes people automatically. On a ticketed event, it does not.
The reason is straightforward. Going on a paid event is meant to be a paid ticket. If the system moved the next person to Going on its own, it would admit someone without anyone charging them. So since version 1.9.0, a paid event’s waitlist never promotes anybody by itself.
Here is what happens instead:
- When the event sells out and Waitlist when full is on, the ticket picker is replaced by a Join waitlist form. A logged-out visitor gives a name and an email, and a logged-in visitor clicks one button. Nothing is charged and no ticket or order is created.
- When a ticket becomes available again, because someone cancelled, a refund was issued or an unpaid checkout expired, everyone on the waitlist is emailed that a seat is open, with a button to buy their ticket.
- The first person to complete checkout gets the seat. Nobody is held a seat, and there is no countdown. Because payment order decides, a paid event’s waitlist does not show a queue position.
You can also step in. From the attendee roster you can email the people you want to admit, add a waitlisted person with a comp ticket, or change a person’s status by hand, which records them as Going without a payment, so use that last one only for people you are admitting free of charge. A waitlisted person is not checked in at the door until their status changes.
The full story for sold-out paid events, is in our guide to waitlists for sold-out events, and the exact behaviour is in the paid-event waitlist docs. We keep this guide to the free RSVP flow so the two do not blur.
What is free and what needs Pro?
Everything in this guide up to the paid-events section is in the free plugin:
- RSVP with going, maybe and not going.
- Capacity, guest counts and a guest limit.
- The waitlist, including automatic promotion on free events.
- Guest RSVPs with a magic link.
- Confirmation, waitlist and promotion emails.
- Reminders a day and an hour before.
- CSV export of the attendee list.
Pro adds the things that sit around a bigger event: taking payment through its payment options, QR code check-in at the door, one custom reminder lead time that you choose, and SMS reminders. Free events can use the same scanner for check-in, so you do not need to sell tickets to use it. For the full comparison, see Free vs Pro.
Whichever you use, the model is the same. It is a plugin on your own site, so there is no per-ticket platform fee and no per-user fee, and the attendee list is yours.
Questions
How do I add a waitlist and RSVP to events on my WordPress site?
Install Eventonomy, set the event to "People register here", give it a capacity, and switch on "Waitlist when full" under Eventonomy, Settings, Registration. Place the RSVP block on the event page. When the event fills, the button changes to Join waitlist, and on a free RSVP event the oldest waiting person moves up when a place opens.
Does the waitlist promote people automatically?
On a free RSVP event, yes. When a Going attendee cancels, the oldest waitlisted RSVP is promoted and emailed. On a ticketed event, no. Everyone on the waitlist is emailed that a seat is open, and the first person to complete checkout gets it.
Can people RSVP without creating an account?
Yes. The setting "Do attendees need an account?" has three choices: offer an account (the default), guest with no account, or must log in. A guest gets a private link by email to view, change or cancel their RSVP.
Can one person RSVP for a whole group?
Yes, on free RSVPs. An attendee can add guests to their RSVP, and every guest counts toward capacity. You can cap the number of guests per RSVP, or switch guests off. Ticketed events do not take guests; each person buys a seat.
What happens if two people go for the last place?
One of them gets it and the other joins the waitlist. Capacity is checked on the server when the RSVP is saved, so a crafted or simultaneous request cannot oversell the event.
Are reminder emails sent automatically?
Yes, in the free plugin. Everyone with a Going RSVP is reminded one day and one hour before the event, with nothing to configure. Pro adds a custom lead time and SMS reminders.
Can I export the waitlist?
Yes. The Export CSV button on the Attendees screen writes name, email, status, guests, RSVP date and event title, plus a column for each registration question. Waitlisted people appear with the status Waitlist.
Is the waitlist free?
The RSVP, the capacity, the guest counts, the waitlist and the reminders are all in the free plugin. Pro is for taking payment, QR check-in, custom reminder timing and SMS. There is no per-ticket platform fee and no per-user fee, because the plugin runs on your own site.