Managing Events
The Events screen in wp-admin is the central place to see, filter, and act on all events across your site. Organizers manage their own events from the frontend My Events dashboard.
What You Will Learn
- How to view and filter events in the admin
- What the event statuses mean
- How to edit, duplicate, cancel, or delete an event
- How to bulk-manage events
- How the My Events dashboard works for organizers
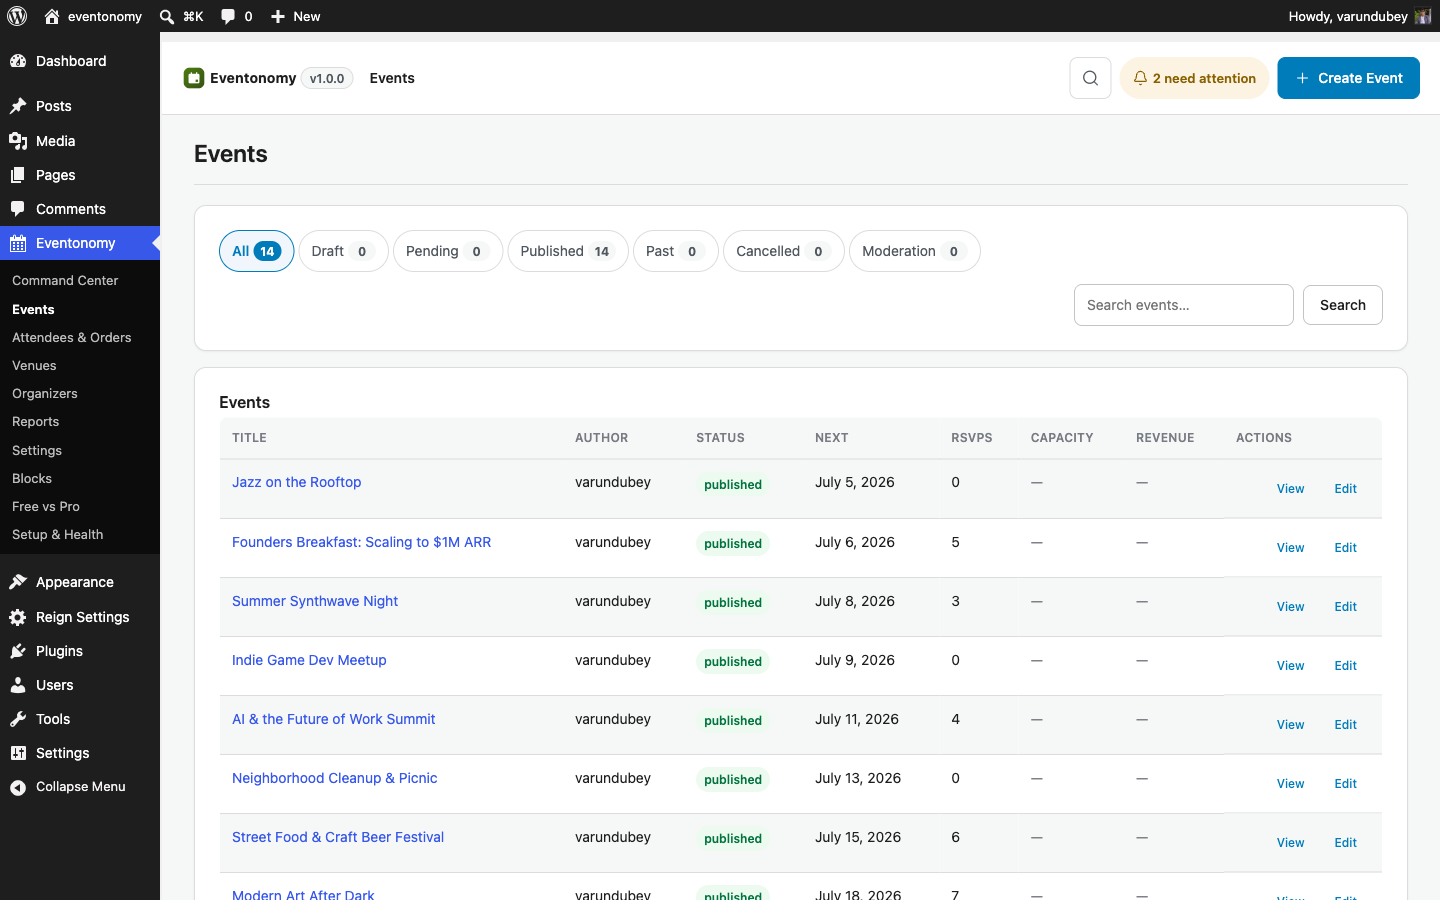
The Events Admin Screen
Go to Eventonomy → Events to see all events. The table shows:
- Title - links to the event editor.
- Status badge - Published (green), Pending (yellow), Draft (grey), Cancelled (red), Private (purple).
- Date - the next upcoming occurrence, or the event start date for single events.
- Venue - city or venue name.
- RSVPs - going / capacity at a glance.
- Organizer - the WordPress user who created the event.
Filtering Events
Use the filters at the top of the table to narrow the list:
- Status - show only Draft, Pending, Published, Cancelled, or Private events.
- Category - filter by a specific category.
- Date range - enter a start and end date.
- Search - match on title, description, or venue.
Event Statuses
| Status | Visible to the public | Who can set it |
|---|---|---|
draft |
No | Event owner, admins |
pending |
No (admins see it) | Submitted by members when Approval mode is on |
published |
Yes | Event owner (if no approval required), admins |
cancelled |
Yes - shows a "Cancelled" label | Event owner, admins |
private |
Only to logged-in users with access | Admins, event owner with the right role |
Note: Eventonomy uses
published(not WordPress'spublish) for its own event status values. The pages Eventonomy creates use WordPress'spublishas normal - these are different things.
Editing an Event
Click the event title or the Edit row action to open the event editor. Make your changes and click Save. The change is saved via the REST API without a page reload.
Changes to start/end date on a recurring event give you a choice:
- This occurrence only - update just the selected date.
- This and future occurrences - update from this date forward.
- All occurrences - change the entire series.
Cancelling an Event
Set an event's status to Cancelled to mark it as cancelled without deleting it. Attendees who have RSVP'd receive a cancellation notification email (if enabled). The event remains on the Events page with a "Cancelled" label so attendees who search for it can see the status.
Deleting an Event
Click Delete on an event to move it to trash. Trashed events are soft-deleted (recoverable). To permanently delete, use the Force delete option or empty the trash.
Warning: Permanently deleting an event cascades to all its occurrences, RSVPs, tickets, and orders. This cannot be undone.
Bulk Actions
Select multiple events using the checkboxes, then use the Bulk actions dropdown:
- Publish - publish selected drafts or pending events. Requires
evnm_manage_events. - Draft - revert to draft.
- Trash - soft-delete.
- Delete - permanent delete (use with caution).
- Feature / Unfeature - toggle the featured flag. Requires
evnm_manage_events.
Bulk actions apply to up to 50 events at once.
The My Events Dashboard (Frontend)
Members who create events manage them from the My Events page (/my-events/). The dashboard has four sections:
- Overview - stat cards (Published, Drafts, Attending, total), a "Your next event" spotlight with countdown, and recent events.
- Events - a list of the member's own events with status badges and actions (Edit, View, Cancel).
- Create - the full event-editor form, embedded in the dashboard.
- Attending - a paginated list of events the member has RSVP'd to.
Note: Members see only their own events in the My Events dashboard. Site admins see all events in the wp-admin Events screen.
What's Next?
Learn how to create events that repeat on a schedule.