Installation
Get Eventonomy running on your WordPress site in under five minutes. This guide covers system requirements, how to install, and what the plugin sets up automatically on first activation.
What You Will Learn
- Whether your server meets the requirements
- How to install Eventonomy (Free and Pro)
- What Eventonomy creates automatically on activation
Requirements
| Requirement | Minimum |
|---|---|
| WordPress | 6.4 or higher |
| PHP | 8.1 or higher |
| MySQL | 5.7 or higher (or MariaDB 10.4+) |
| Browser | Any modern browser (Chrome, Firefox, Safari, Edge) |
Eventonomy works with any WordPress theme. It integrates visually with BuddyX and Reign - the plugin adopts the theme's accent colour and dark-mode signal automatically.
Note: Eventonomy does not use WordPress custom post types. All event data lives in its own custom tables (
wp_evnm_*). This is intentional - it gives your events the query performance and scalability that CPT-based plugins cannot match at scale.
Installing Eventonomy Free
Method 1: WordPress Admin (Recommended)
- Go to Plugins → Add New Plugin in your WordPress admin.
- Search for Eventonomy.
- Click Install Now, then Activate.
Method 2: Upload a ZIP File
- Download the Eventonomy ZIP from wbcomdesigns.com.
- Go to Plugins → Add New Plugin → Upload Plugin.
- Choose the ZIP file and click Install Now, then Activate.
Method 3: WP-CLI
wp plugin install eventonomy --activate
Installing Eventonomy Pro
- Purchase Eventonomy Pro from wbcomdesigns.com.
- Download the Pro ZIP from your account.
- Go to Plugins → Add New Plugin → Upload Plugin, upload the ZIP, and activate.
- Both Free and Pro must be active - Pro extends Free and cannot run standalone.
After activation, a Manage License link appears on the Plugins page. Click it and enter your license key to enable automatic updates from the Wbcom store.
What Happens on Activation
Eventonomy sets everything up automatically the first time you activate it.
Pages created:
Eventonomy creates two WordPress pages:
- Events - hosts the calendar, events list, and view switcher blocks.
- My Events - the member dashboard where organizers manage their events and RSVPs.
Single-event URLs (e.g. yoursite.com/event/my-event/) are handled by a virtual template - no separate page is created for each event.
Database tables created:
Eventonomy creates its own tables with the evnm_ prefix:
| Table | Purpose |
|---|---|
evnm_events |
Core event records |
evnm_occurrences |
Materialized occurrences (one per instance, including recurring) |
evnm_rsvps |
Attendee RSVPs |
evnm_tickets |
Ticket types per event |
evnm_orders |
Order records (free and paid) |
evnm_meta |
Extensible key/value metadata |
evnm_venues |
Shared venue catalog |
evnm_organizers |
Shared organizer catalog |
Pro adds evnm_follows for the organizer-following feature.
WordPress capabilities registered:
Eventonomy registers its own capabilities (evnm_create_events, evnm_manage_events, evnm_manage_rsvps, evnm_manage_orders, evnm_manage_settings, and others) and maps them to your existing WordPress roles.
Permalink rules flushed:
Rewrite rules are registered and flushed immediately. No manual permalink reset is needed.
Background jobs scheduled:
Three recurring jobs are scheduled:
- Occurrence recompute (daily) - expands recurring events up to the horizon window.
- Reminder dispatch (hourly) - sends scheduled event reminders (Pro).
- Hold expiry (every 5 minutes) - releases ticket holds that were abandoned at checkout (Pro).
Uninstalling
Deactivating Eventonomy preserves all data. Only a full uninstall (delete the plugin) removes the evnm_* tables, options, and capabilities - but only if Settings → Advanced → Delete all Eventonomy data when the plugin is uninstalled is enabled. This setting is off by default, so your data is safe unless you explicitly opt in.
What's Next?
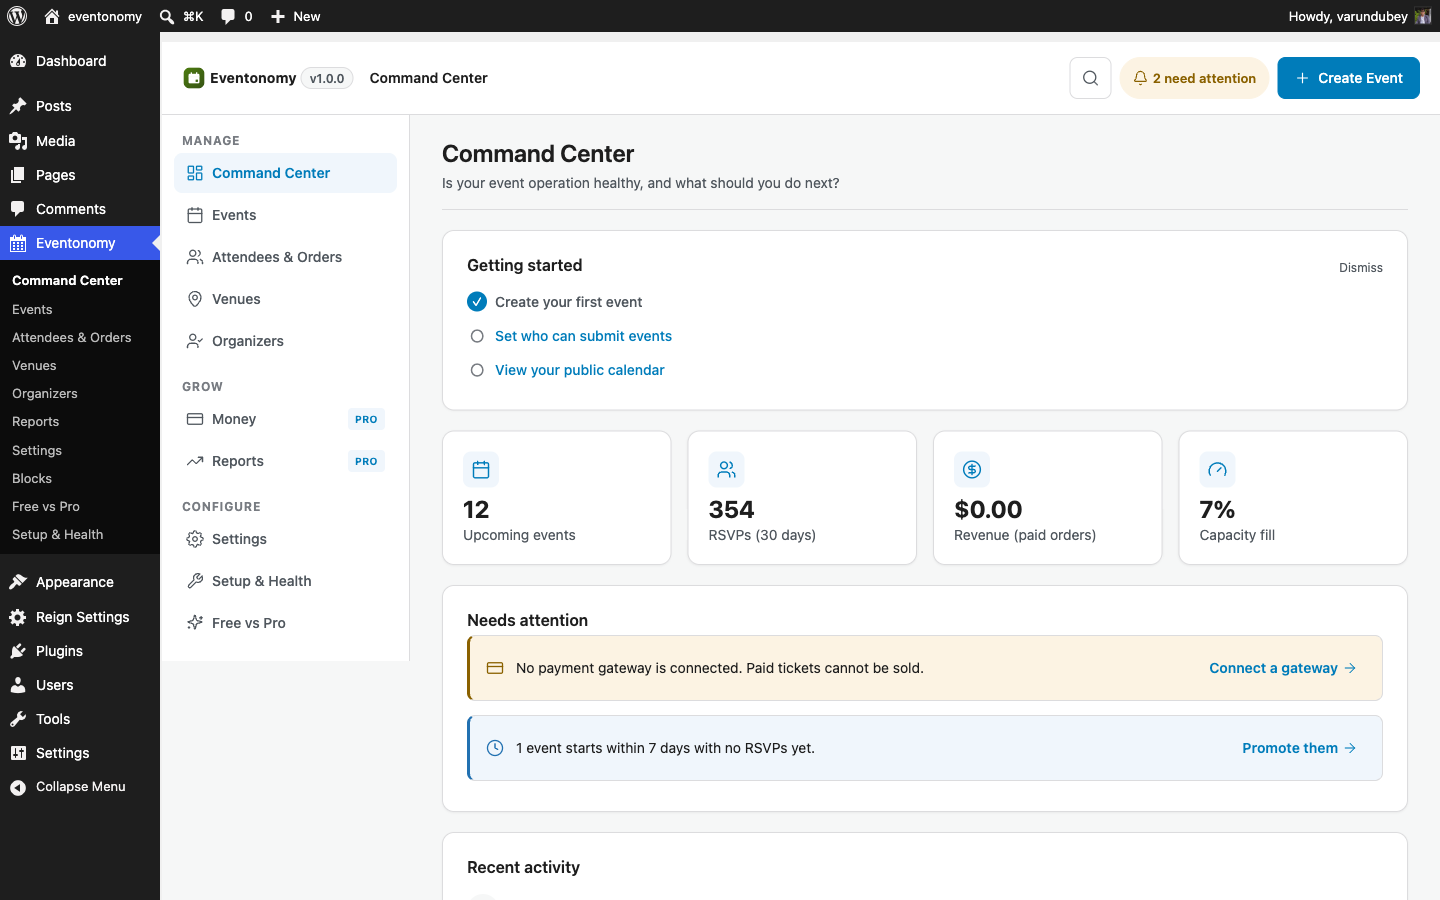
Check the Setup & Health screen to confirm everything is wired correctly.