RSVPs
The RSVP system lets attendees register for events with a single click. It supports logged-in members and guests (no account needed), optional party sizes, capacity limits, waitlists, and a secure magic-link flow so guests can manage their RSVP without creating an account.
What You Will Learn
- How to enable RSVPs on an event
- The four RSVP statuses
- How capacity and waitlists work
- How guest RSVPs and magic links work
- How to configure custom registration questions
Enabling RSVPs
RSVP is enabled globally at Eventonomy → Settings → RSVP and can be toggled per event in the event editor (RSVP enabled toggle).
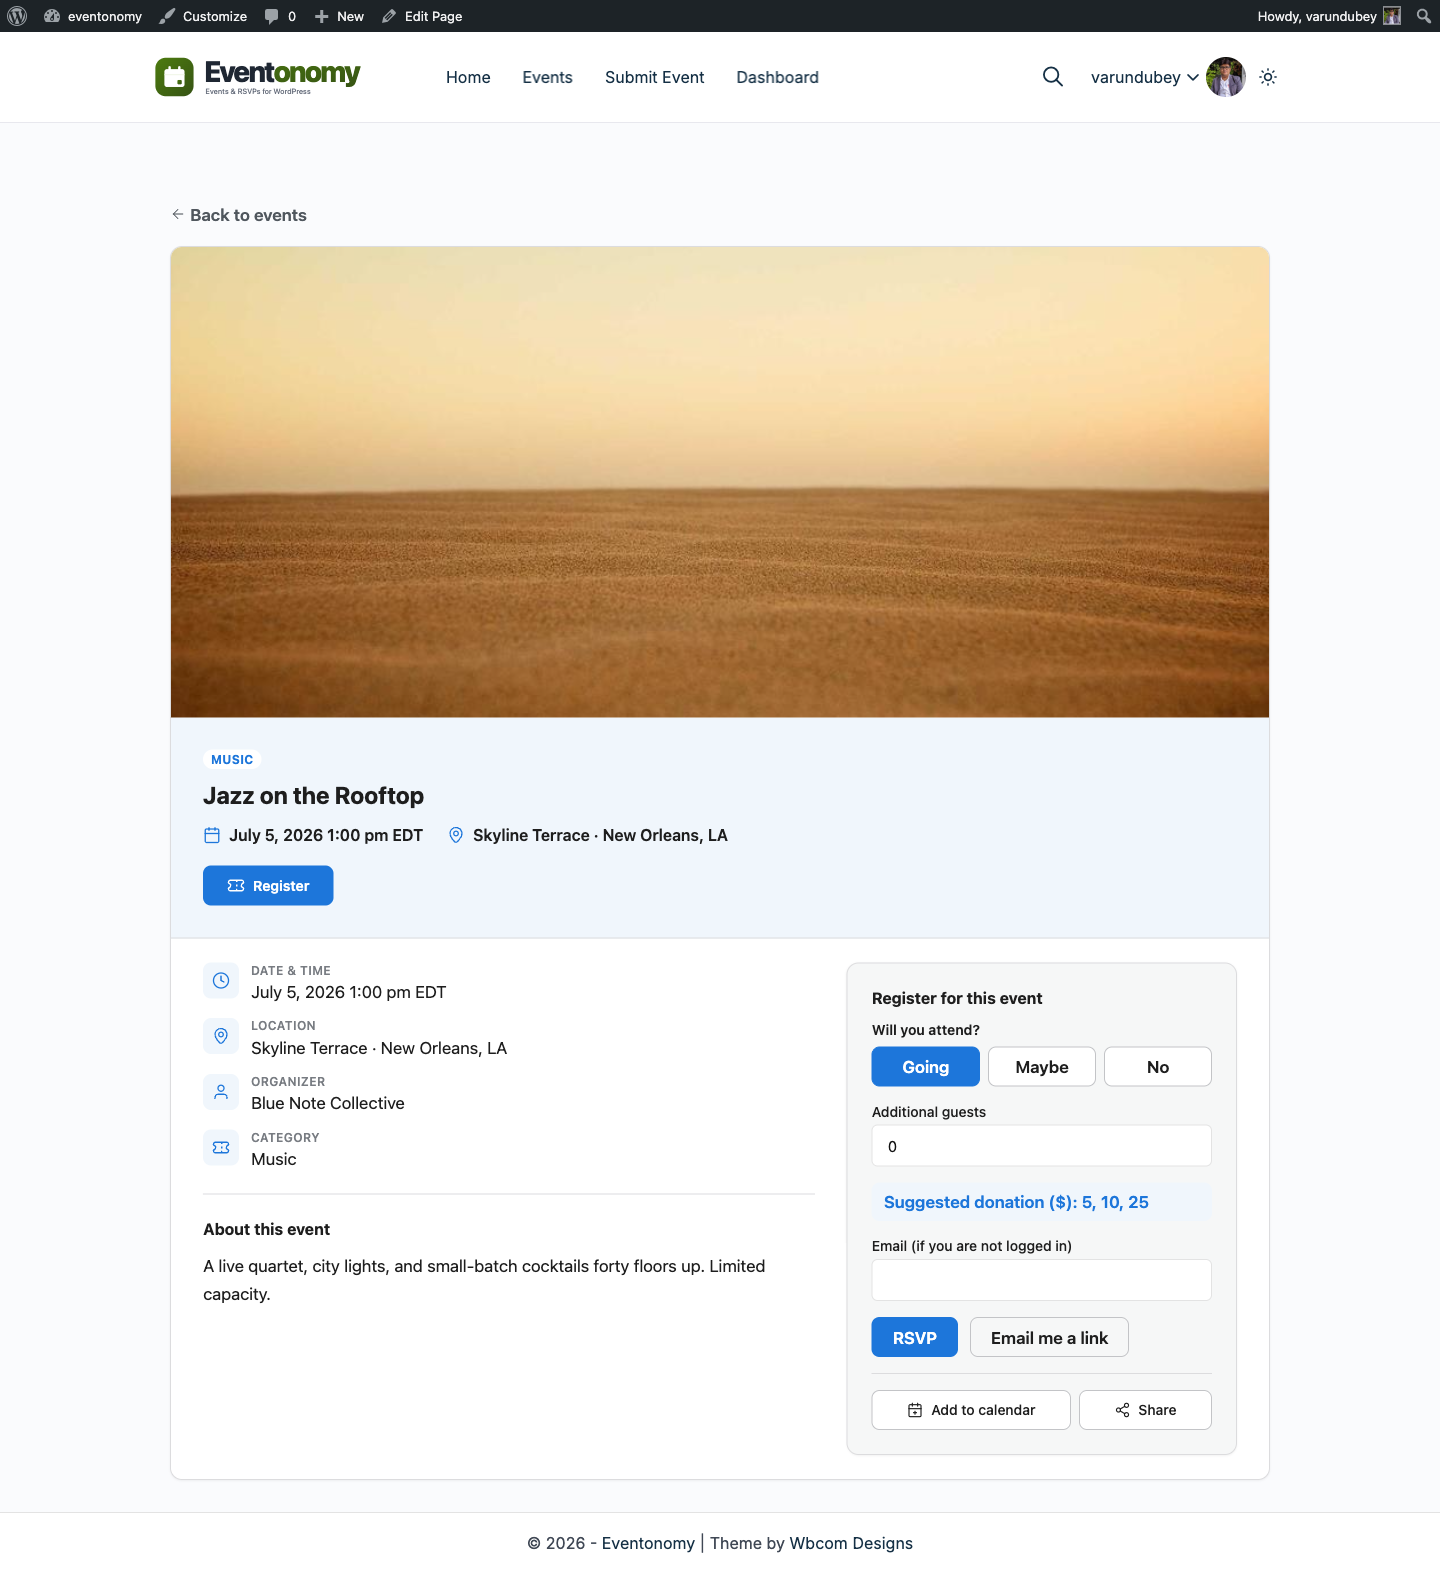
When RSVP is on, the eventonomy/rsvp block on the single-event page shows the registration form.
RSVP Statuses
| Status | What it means |
|---|---|
| Going | Attendee is confirmed. Counts toward capacity. |
| Maybe | Attendee is tentative. Does not count toward capacity. |
| No | Attendee has declined. Does not count toward capacity. |
| Waitlist | Capacity is full; attendee is queued and promoted automatically when a spot opens. |
Changing an RSVP from Going to No frees a spot and promotes the oldest Waitlist RSVP to Going automatically.
Capacity and Waitlists
Setting Capacity
Set a site-wide default capacity at Settings → RSVP → Default attendee capacity. Override per event in the event editor's Capacity field. Set to 0 for unlimited.
When capacity is reached:
- If Waitlist is on, further Going RSVPs are placed on the waitlist automatically.
- If Waitlist is off, the RSVP is rejected with a "sold out" message.
Showing Remaining Spots
Enable Show remaining spots (Settings → RSVP) to display "5 spots left" on event cards, the single-event page, and the RSVP block. This is hidden when capacity is unlimited.
Guest RSVPs
Guests without a WordPress account can RSVP by supplying their name and email. After submitting, they receive a magic link by email that lets them view or change their RSVP.
Enabling Guest RSVPs
At Settings → RSVP, turn on Allow guests to RSVP without an account.
To require login instead, turn on Require login to RSVP - this overrides the guest-RSVP setting and shows a login prompt to visitors who are not logged in.
How the Magic Link Works
- Guest submits their name, email, and RSVP status.
- Eventonomy emails a signed link (valid for 1 hour by default) to the guest's email address.
- The guest clicks the link and lands on a manage-RSVP page where they can update their status or cancel.
- The link can be re-requested from the RSVP block at any time.
Secrets (the magic token) are never exposed in REST API responses or admin tables.
Party Size (Guests)
Attendees can bring additional guests when they RSVP. Each guest counts toward the event capacity.
Set the maximum number of additional guests at Settings → RSVP → Max additional guests per RSVP (0 = unlimited).
RSVP Deadline
Set a deadline at Settings → RSVP → RSVP deadline (hours before start). When the deadline passes, the RSVP form closes and a "Registration closed" message appears. Set to 0 for no deadline.
Custom Registration Questions
When Custom questions is on (Settings → Questions), attendees are asked additional questions when they RSVP. You can define site-wide questions with these answer types:
- Short text - a single-line input.
- Paragraph - a multi-line textarea.
- Choice (dropdown) - a list of options you define (one per line).
- Checkbox - a yes/no toggle.
Mark any question as Required to prevent submission without an answer. See Questions settings for how to add and reorder questions.
What's Next?
Add paid tickets to your events and configure checkout.