Setup & Health
The Setup & Health screen is your one-stop check that Eventonomy is configured correctly. It lives at Eventonomy → Setup & Health in the admin menu and is the first place to go after activation.
What You Will Learn
- How to run the health check
- What each health indicator means
- How to fix the most common setup issues
- How to load demo data to explore the plugin
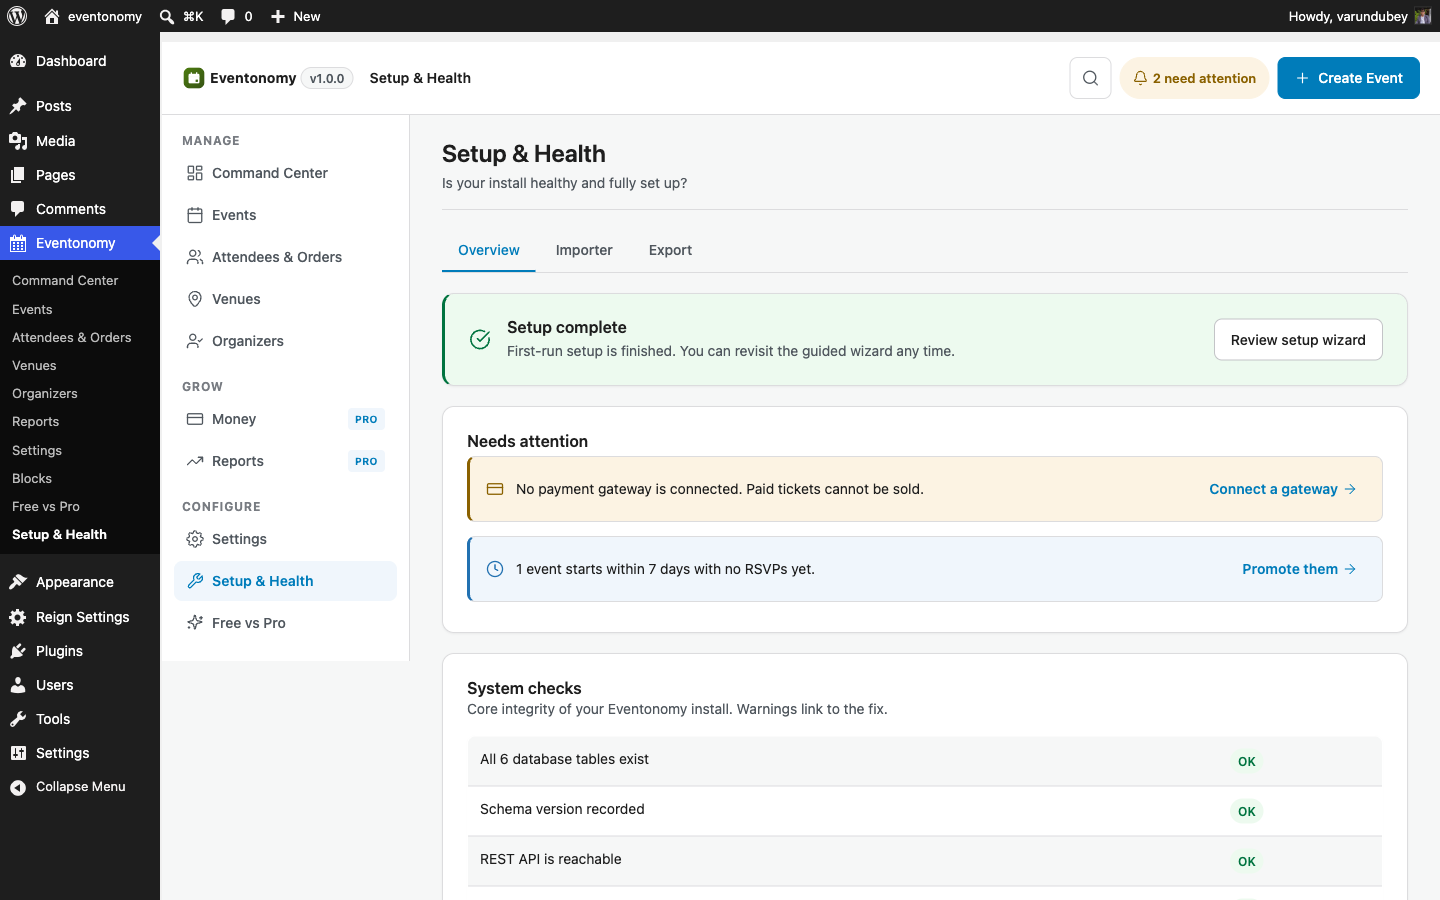
Running the Health Check
Go to Eventonomy → Setup & Health. The screen automatically checks:
| Check | What it verifies |
|---|---|
| Database tables | All evnm_* tables exist and have the expected schema version |
| Events page | The WordPress page holding the events block is published |
| My Events page | The member dashboard page is published |
| Single-event permalinks | Pretty event URLs are registered (/event/{slug}/) |
| WordPress permalink structure | A non-plain permalink setting is active (required for pretty URLs) |
| REST API | The eventonomy/v1 namespace responds to a self-test request |
| Cron jobs | Scheduled background jobs are registered |
| License (Pro) | Pro license key is active and the site is authorized for updates |
A green checkmark means the item is healthy. A yellow warning or red error means action is needed.
Fixing Common Issues
Events page not found
The Events page was deleted or is in draft. Go to Pages → Add New and create a page containing the eventonomy/events-list block. Then go to Eventonomy → Settings → Display and enter the page's ID or slug in the Events page field.
Alternatively, go to Eventonomy → Setup & Health and click Recreate pages - this recreates both the Events and My Events pages with the correct blocks.
Permalink structure is plain
Eventonomy requires a non-plain permalink structure for pretty event URLs. Go to Settings → Permalinks and choose any option other than Plain. Click Save Changes - this also flushes rewrite rules.
REST API failing
If the self-test returns an error, a security plugin or server firewall may be blocking REST API requests. Check:
- iThemes Security / Wordfence - ensure the REST API is not globally disabled.
- Server-level rules - ensure your hosting does not block
wp-jsonpaths. - Plugin conflict - deactivate other plugins one by one to find the conflict.
Database tables missing
This usually happens if the activation hook was skipped (e.g. the plugin was installed by copying files rather than through wp-admin or WP-CLI). Go to Eventonomy → Setup & Health and click Run database upgrade to create any missing tables.
Loading Demo Data
To explore Eventonomy before you create real events, load the demo dataset.
- Go to Eventonomy → Tools → Demo data.
- Click Load demo data.
This creates approximately 20 events covering different types (single, recurring, free, with tickets, with RSVPs), realistic venues and organizers, and cover images pulled from a public image source.
To remove the demo data when you are ready to go live, click Remove demo data on the same screen. Only rows created by the seeder are removed - any events you created yourself are untouched.
Note: Demo data is available on development and staging environments. It uses the same
wp eventonomy seed/wp eventonomy unseedWP-CLI commands behind the scenes.
What's Next?
Create your first event.